![]()


Transform Your Space: 10 Creative DIY Cement Projects You Can Start Today
Cement isn’t just for construction sites; it’s a versatile material that opens the door to endless DIY possibilities. I’ve discovered that with a little creativity and some basic tools, I can transform ordinary spaces into stunning works of art. Whether it’s creating unique garden planters or stylish home decor, DIY cement projects offer a satisfying way to express my style while enhancing my living environment.
Key Takeaways
- Versatile Material: Cement can be used creatively for various DIY projects, turning ordinary spaces into artistic expressions.
- Types of Projects: Popular DIY cement projects include garden planters, home decor items, furniture, and custom pathways, each providing unique design opportunities.
- Essential Tools: Key materials for successful projects include mixing buckets, molds, trowels, safety gear, and specific types of cement like Portland and quick-setting cement.
- Mixing and Curing Techniques: Proper mixing ratios, cleanliness, and moisture control are crucial for achieving optimal results in cement projects.
- Safety First: Always prioritize safety by wearing gloves and goggles while handling cement to prevent irritation and injuries.
- Customization Options: Incorporate pigments and creative molds for unique designs, enhancing both aesthetic appeal and functionality in your DIY projects.
Overview of DIY Cement Projects
DIY cement projects offer endless possibilities for creativity and practical applications. I find cement’s adaptability fascinating; it suits diverse styles and aesthetics. From decorative items to functional pieces, each project provides a unique opportunity for self-expression.
Various DIY projects include:
- Garden Planters: These cement creations enhance outdoor spaces while allowing for personalized designs.
- Home Decor Items: Sculptures, candle holders, and coasters elevate interior design with a modern touch.
- Furniture: Cement tables or benches provide sturdy, stylish options for both indoor and outdoor use.
- Walkways and Pathways: Custom-shaped cement stones create visually appealing paths that stand out in landscaping.
Each project requires simple materials, such as mold containers, mixing tools, and finishing products. Safety precautions, like gloves and a mask, ensure a smooth crafting process. With the right approach, anyone can enjoy the rewarding experience of making DIY cement projects and transforming their surroundings.
Materials Needed for DIY Cement Projects

Creating with cement requires specific materials that simplify the process and enhance results. Below are essential tools and types of cement you’ll need to start your DIY cement projects.
Essential Tools
- Mixing Bucket: I use a durable plastic or metal bucket for mixing cement and water.
- Trowel: A trowel helps spread and smooth cement surfaces effectively.
- Mold: I choose silicone or plastic molds for various shapes; these are easy to remove once the cement cures.
- Hand Gloves: Wearing gloves protects my hands from irritation while handling cement.
- Safety Goggles: Safety goggles safeguard my eyes from dust and debris during mixing and pouring.
- Spatula: A spatula assists in leveling and shaping cement when in the mold.
- Watering Can: I keep a watering can handy for controlling moisture levels as cement cures.
- Measuring Cup: A measuring cup ensures accurate ratios of cement to water.
- Portland Cement: This is the most common type; it’s used for general-purpose projects.
- Quick-Setting Cement: Ideal for faster projects, it sets within minutes, making it suitable for repairs.
- Fiber-Reinforced Cement: I use this type for extra strength; it’s enhanced with fibers to reduce cracking.
- Self-Leveling Cement: Perfect for creating smooth surfaces, it flows and levels itself during application.
- High-Strength Cement: This option provides added durability for heavy-duty constructions, such as paving stones.
- Colored Cement: Colored varieties allow me to add aesthetic flair to my projects, enhancing visual appeal.
Popular DIY Cement Projects
Exploring popular DIY cement projects showcases how versatile and creative cement can be. Below are some innovative ideas that allow for personal expression while enhancing spaces.
Garden Planters
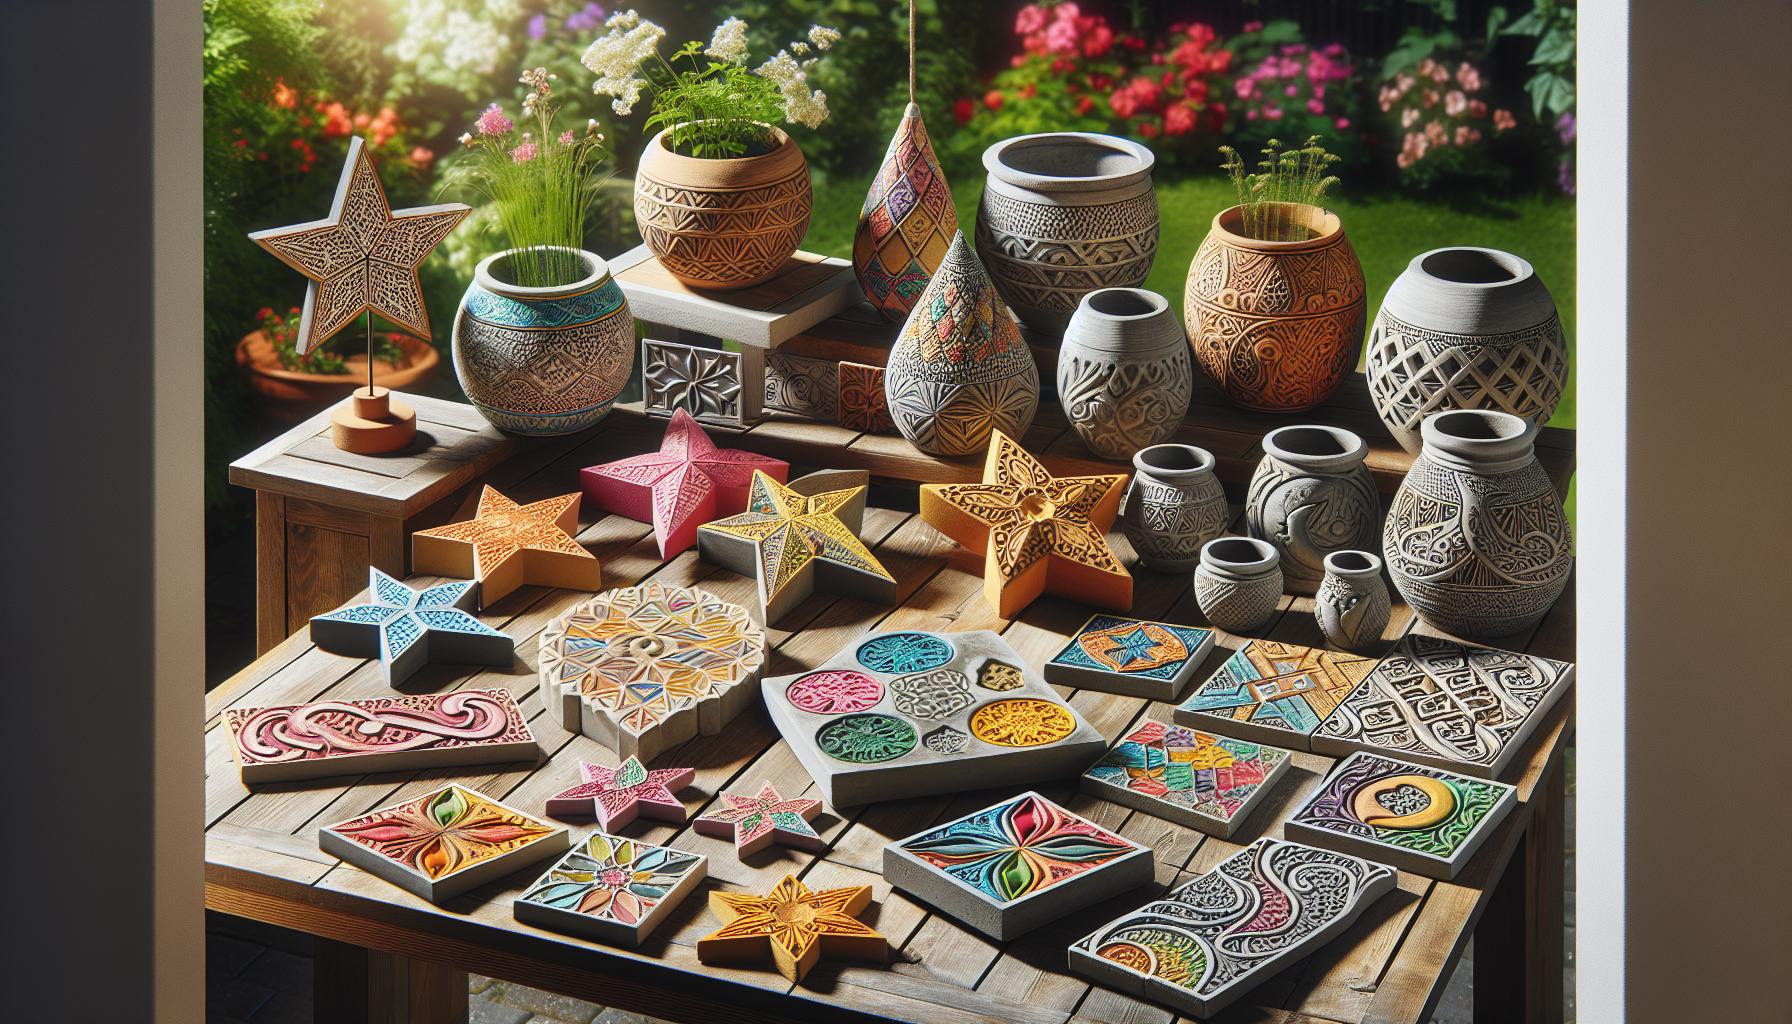
Garden planters made from cement offer durability and customization. I often mix different pigments into the cement for a unique look that matches my garden’s aesthetic. Using molds, I create various shapes—ranging from traditional rectangular boxes to whimsical animal forms. The draining holes ensure proper plant health. Cement’s weather resistance makes these planters perfect for outdoor use.
Decorative Tiles
Decorative tiles crafted from cement bring style to any room. I typically use geometric molds and colorful pigments to create unique designs. By incorporating stencils or stamps before the cement sets, I produce intricate patterns for floors or backsplashes. These tiles are ideal for both indoor and outdoor applications, as they withstand moisture while adding a chic touch.
Concrete Furniture
Concrete furniture combines elegance with strength. I find it rewarding to create solid pieces like tables and benches. Using reinforced cement ensures durability. Pairing cement with wood or metal elements enhances the design’s appeal. Customizing shapes can yield eye-catching focal points for patios or living rooms and serve practical purposes, such as dining or relaxation.
Tips for Successful DIY Cement Projects

Achieving excellence in DIY cement projects relies on proper techniques and attention to detail. This guide covers effective mixing and curing techniques to ensure your projects turn out beautifully.
Mixing Techniques
Mixing cement properly is crucial for a successful project. I recommend these key techniques:
- Measure Accurately: Use a measuring cup for precise water and cement ratios, typically 1 part water to 2 parts cement.
- Use Clean Tools: Ensure all mixing tools are free from contaminants to avoid compromising the mixture.
- Mix Thoroughly: Blend cement, sand, and water consistently until achieving a uniform, lump-free consistency.
- Consider the Consistency: For moldable projects, use a thicker mix. For pours, a fluid consistency is ideal.
- Employ a Mixing Drill: A drill with a mixing paddle can save time and enhance the mix quality.
- Maintain Moisture: Keep the cement surface moist for at least 5 to 7 days to promote hydration.
- Cover with Wet Fabric: Drape burlap or other wet fabrics over the cement to retain moisture during the curing phase.
- Avoid Direct Sunlight: Shade the project from sun exposure, as excessive heat can cause cracking.
- Control Temperature: Maintain a temperature range of 50°F to 90°F for best results.
- Monitor for Cracks: Inspect for cracks during curing, and fill with a cement patch if needed.
Conclusion
Embracing DIY cement projects has truly transformed my creative journey. With just a few materials and some basic tools I’ve been able to craft stunning pieces that reflect my personal style. Each project has not only enhanced my living space but also provided a satisfying sense of accomplishment.
Whether it’s a custom garden planter or a chic concrete table I’ve discovered that the possibilities are endless. The adaptability of cement allows for unique expressions that can suit any aesthetic. I encourage you to dive into the world of DIY cement projects and experience the joy of creating something beautiful and lasting. You might just surprise yourself with what you can achieve.