![]()

3D Rendering for Interior Design: Transform Your Vision Into Photorealistic Spaces
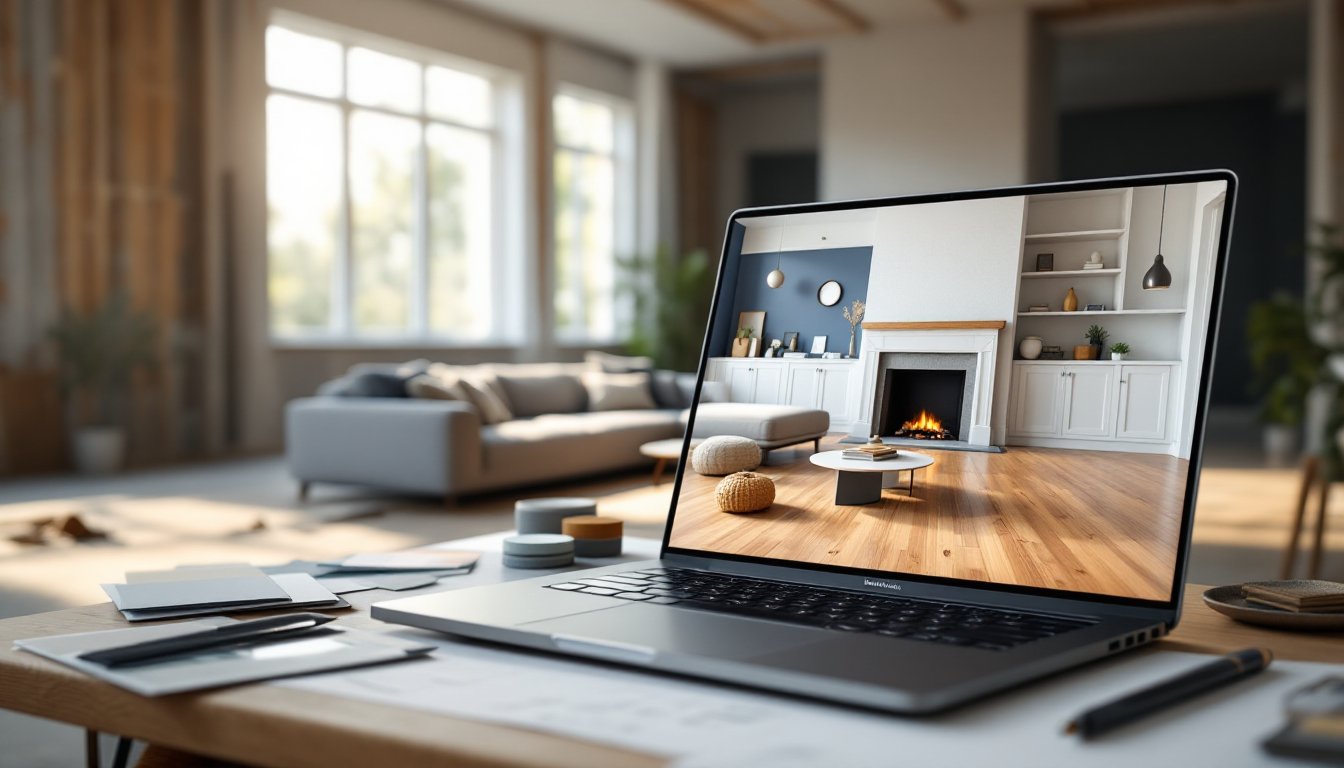
Gone are the days of relying on flat floor plans and fabric swatches to sell a design idea. 3D rendering has revolutionized how interior designers communicate with clients, contractors, and themselves. Instead of asking homeowners to imagine what a room “could” look like, designers now deliver photorealistic images that show exactly how light will hit that navy accent wall or how the new built-ins will frame the fireplace. This technology bridges the gap between concept and reality, reducing costly surprises and buyer’s remorse. Whether planning a kitchen remodel or staging a whole-house renovation, understanding 3D rendering gives DIYers and pros a powerful tool to visualize, refine, and execute projects with confidence.
Key Takeaways
- 3D rendering in interior design creates photorealistic visualizations that bridge the gap between concept and reality, enabling clients to see exactly how lighting, materials, and spatial flow will appear before construction begins.
- Using 3D rendering reduces costly surprises and change orders by catching design flaws in the digital phase, where adjustments take minutes rather than thousands of dollars in mid-construction modifications.
- Popular 3D rendering software ranges from free options like Blender and SketchUp Free for DIYers to professional tools like Enscape and Chief Architect that cater to residential and commercial designers with varying budgets.
- Successful interior design renderings depend on three critical elements: accurate measurements and scale, realistic material textures with proper lighting layers, and human-centric details that make spaces feel lived-in rather than sterile.
- 3D rendering serves as a powerful marketing and communication tool for designers, helping close deals faster by demonstrating professionalism and capability while enabling remote collaboration with clients across distances.
What Is 3D Rendering in Interior Design?
3D rendering is the process of creating two-dimensional images from three-dimensional digital models using specialized software. In interior design, it translates architectural drawings, furniture layouts, and material selections into lifelike visuals that mimic real-world lighting, textures, and spatial relationships.
The process begins with building a 3D model, essentially a digital wireframe of the room, complete with walls, windows, and structural elements. Designers then apply textures (wood grain, tile patterns, fabric weaves) and lighting conditions (natural daylight, pendant fixtures, recessed cans) to simulate how the space will actually appear. Advanced rendering engines calculate how light bounces off surfaces, creating shadows, reflections, and depth that flat sketches can’t capture.
Unlike simple mood boards or 2D elevations, 3D renders allow viewers to experience spatial flow and scale. A homeowner can see whether that sectional will overwhelm the living room or if the kitchen island leaves enough clearance for traffic. It’s a visual proof-of-concept that eliminates guesswork and sets realistic expectations before anyone picks up a paintbrush or demolition hammer.
Why Interior Designers Are Embracing 3D Rendering Technology
The shift toward 3D rendering isn’t just about pretty pictures, it solves real communication problems. Clients often struggle to interpret blueprints or elevations, leading to mid-project changes that blow budgets and timelines. A photorealistic render removes ambiguity. When a homeowner sees their future bathroom with hexagonal floor tile and brass fixtures in context, they can make informed decisions early.
Rendering also streamlines collaboration with contractors and vendors. Electricians know exactly where to rough in outlets when they see the layout in 3D. Cabinet makers can verify dimensions and clearances without site visits. This level of detail reduces change orders and on-site surprises that cost time and money.
From a business standpoint, 3D renders are powerful marketing tools. Designers use them in portfolios, social media posts, and client proposals to showcase their work before it’s built. They demonstrate capability and professionalism in ways that hand sketches or verbal descriptions can’t match. In competitive markets, the ability to deliver high-quality renders can close deals and command higher fees.
Key Benefits of Using 3D Renders for Interior Projects
Accurate material visualization: Seeing how quartzite countertops pair with shaker cabinets and subway tile eliminates the guesswork of sample chips under fluorescent store lighting. Renders show materials in the actual space with correct lighting conditions.
Better spatial planning: Homeowners can evaluate furniture scale, traffic flow, and clearances before moving a single piece. A render reveals whether that king bed leaves room for nightstands or if the dining table blocks the patio door.
Cost savings: Catching design flaws in the digital phase is cheap. Moving a powder room in a rendering takes minutes: moving plumbing mid-construction costs thousands. Early visualization reduces expensive change orders and material waste.
Client confidence: Decision paralysis is real in remodeling projects. When clients see the finished result upfront, they commit faster and second-guess less. This accelerates project timelines and reduces the emotional stress of renovation.
Lighting experimentation: Designers can test different fixtures, window treatments, and bulb temperatures to optimize ambiance. Want to see if recessed lighting works better than a chandelier? Render both options side-by-side without buying a single fixture.
Remote collaboration: Homeowners working with designers across state lines can review and approve concepts without in-person meetings. This expands market reach for design professionals and gives clients access to talent outside their local area.
Popular 3D Rendering Software for Interior Designers
SketchUp remains a favorite for its intuitive interface and robust free version (SketchUp Free). It’s ideal for DIYers and beginners who need quick spatial mockups without a steep learning curve. The paid Pro version adds advanced rendering plugins like V-Ray and Enscape for photorealistic output.
Autodesk 3ds Max is industry-standard software for professionals handling complex commercial projects. It offers unparalleled control over lighting, textures, and rendering quality but requires significant training. Expect a subscription cost starting around $1,700/year.
Blender is a powerful open-source option that’s completely free. Its rendering engine (Cycles) produces stunning results, though the interface intimidates newcomers. Online tutorials and active forums help flatten the learning curve for motivated users.
Chief Architect caters specifically to residential design and remodeling. It integrates floor plans, elevations, and 3D views in one package, making it popular among kitchen and bath designers. Pricing starts around $3,000 for a perpetual license.
Enscape is a real-time rendering plugin that works with SketchUp, Revit, Rhino, and ArchiCAD. Designers love it for instant visualization, changes to the model update the render immediately. It’s a middle-ground option at roughly $600/year that balances ease of use with professional quality.
Lumion excels at creating cinematic walkthroughs and atmospheric exterior/interior scenes. Its library of pre-built assets (furniture, landscaping, people) speeds up the design process. Licenses range from $1,500 to $5,000 depending on feature sets.
How to Create Stunning Interior Design Renderings
Start with accurate measurements. A beautiful render means nothing if dimensions are wrong. Measure twice, model once. Use a laser measure for precision and note ceiling height, window placement, and permanent fixtures like radiators or columns.
Build a clean base model. Model walls, floors, and ceilings first. Don’t get lost in details yet, nail the shell and major architectural features (doors, windows, built-ins) before adding furniture. Most software lets you import floor plans as underlays to trace over.
Apply realistic materials. Generic gray walls won’t sell a design. Use high-resolution texture maps that show wood grain direction, tile grout lines, and fabric weave. Many software packages include material libraries, but custom textures from manufacturers’ websites add authenticity.
Master lighting layers. Combine three light types: natural (windows, skylights), ambient (recessed or ceiling fixtures), and accent (pendants, sconces, lamps). Set light temperature correctly, warm for living spaces (2700-3000K), cooler for task areas like kitchens (3500-4000K). Avoid over-lighting: shadows add depth and realism.
Populate with purpose. Add furniture, artwork, and accessories that reflect how the space will actually be used. A kitchen render needs dish soap by the sink and a cutting board on the counter. These details make the space feel lived-in rather than sterile.
Choose camera angles wisely. Position the virtual camera at human eye level (roughly 5 feet off the floor) and shoot from corners to capture depth. Avoid fish-eye distortion and keep vertical lines straight, crooked walls look unprofessional.
Render in high resolution. Export at minimum 1920×1080 pixels for screen viewing, higher for print. Enable anti-aliasing and global illumination in render settings to eliminate jagged edges and improve light behavior.
Common Mistakes to Avoid in Interior Design Rendering
Ignoring scale: Furniture that’s even 10% oversized throws off the entire composition. Download manufacturer models when possible, or verify dimensions against real-world specs. That sofa might look great, but if it’s 8 feet long in a 10-foot room, the render lies.
Poor lighting setup: Flat, shadowless lighting kills realism. Real rooms have contrast, bright zones near windows, dimmer corners, light spill from fixtures. Spend time tweaking light intensity and placement. If everything’s evenly lit, it looks like a video game, not a photograph.
Overusing stock assets: Recognizable default furniture models scream “beginner.” Customize or mix asset sources. If budget allows, invest in paid model libraries from sites like TurboSquid or CGTrader for unique pieces.
Neglecting material finishes: Glossy paint where there should be matte, or tile without any reflectivity, breaks immersion. Match finishes to real products. Manufacturers like Sherwin-Williams and Benjamin Moore provide finish specs designers can replicate.
Forgetting the human element: An empty room with perfect furniture arrangement feels like a showroom, not a home. Add subtle lived-in details, a throw blanket, books on a shelf, a coffee mug. Just don’t overdo it into clutter.
Skipping post-processing: Raw renders often need minor color correction, contrast adjustment, or sharpening in software like Photoshop or Lightroom. This final polish separates amateur work from professional presentations.
Unrealistic expectations: A first-time renderer won’t produce magazine-quality images overnight. Photorealistic rendering has a learning curve. Start simple, study tutorials, and iterate. Even pros spend hours tweaking a single scene.
Conclusion
3D rendering transforms how interior design projects move from concept to reality. It gives homeowners clarity, designers credibility, and contractors precision. Whether using free tools like Blender or investing in professional software like 3ds Max, the technology is more accessible than ever. Start with accurate measurements, layer in realistic materials and lighting, and avoid common pitfalls like poor scale or flat lighting. The result? Confident decisions, fewer mistakes, and spaces that look as good built as they did on screen.